

Many Northeastern homeowners choose oil tanks for an affordable, long-term heating solution. While the low maintenance and simple design of oil tanks generally provide longevity, a replacement will be necessary once the tank approaches its life expectancy. Without annual maintenance, oil tank replacements may be required even sooner than anticipated.
Before undergoing oil tank removal and installation, there are a few things you need to know to ensure a safe, functional and up-to-code replacement.
- Can I Remove an Oil Tank on My Own?
- Can I Install My Own Oil Tank?
- Best Times to Install a New Oil Tank
- Factors to Consider When Installing an Oil Tank
1. Indoor vs. Outdoor Oil Tanks
2. Underground vs. Above-Ground Installation
3. Protection and Prevention Measures
4. Oil Tank Installation Code and Regulations
5. Importance of Annual Inspections - Get Heating Oil for Your New Oil Tank With Smart Touch Energy
Can I Remove an Oil Tank on My Own?
If you need to remove an old oil tank, you will need help from disposal services. Oil tank removal cannot be completed on your own since specialized knowledge and experience will be necessary to meet the oil tank installation code and removal regulations. Homeowners should turn to oil tank replacement professionals, especially for removing and disposing of old heating systems. Attempts to do this on your own may result in loss of heat, costly oil spills and the violation of environmental laws.
Even if you plan to install the new oil tank yourself, professional assistance is required for the proper disposal of your old one. Some states charge a disposal fee, and many towns require a permit for oil tank removal. Ensure your installer will remove your old tank as part of the installation. For self-installation, you will need to cover the disposal costs and attain the necessary permits for professional services to remove your old tank.
Can I Install My Own Oil Tank?
Anyone can install a new oil tank — as long as the oil tank installation code is upheld. You should be knowledgeable on the various regulations and procedures before taking on such a technical project. Your installation will need to pass a mandatory inspection, and insufficient jobs will likely need to be fixed and could create an unsafe heating system.
Most homeowners choose professional installation for a job they can trust from the start. Self-installation can put you at increased risk of oil leaks and spills from any number of complications. Professionals often remove and dispose of your old tank during installation, making the replacement process smoother and more efficient. Hire a trained installer for the advanced level of care, knowledge and experience they bring to an oil tank installation.
Best Times to Install a New Oil Tank
Spring is the best time to install a new oil tank. During the installation, you may need to turn off the heat for over six hours. This process is not ideal for cold temperatures since your house could be heat-free throughout the entire oil tank replacement.
If your tank must be replaced in winter, you will want to prepare other heating methods for your home in advance. Invest in an electric heater, or run the heating system at a higher temperature for several hours before starting the oil tank replacement. These precautions can reduce the risk of frozen water pipes and make the experience more comfortable.
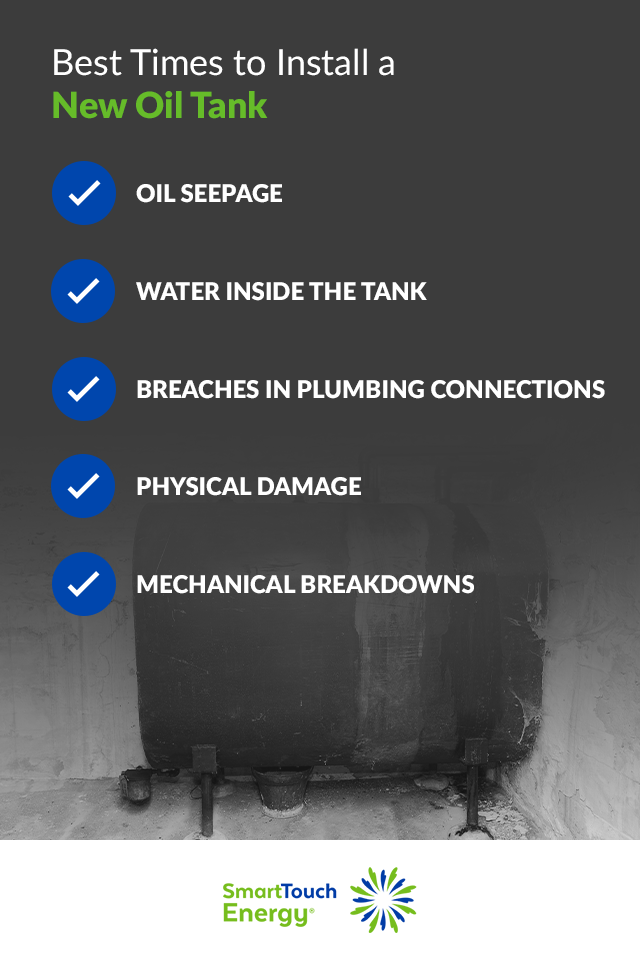
It is best to get replacements done when the tank needs it, rather than waiting until a more favorable season. Know your tank's life expectancy, and try to plan accordingly. Signs that the longevity of your oil tank has been compromised include:
- Oil seepage: When heating oil is found outside the tank or you detect an odor, there is a breach. While heating oil can only ignite if it's atomized, it will seep into the ground and harm the environment.
- Water inside the tank: Oil and water will remain separated, so you can often see when water is inside the tank. Water is a sign that condensation can get into your tank via a breach.
- Breaches in plumbing connections: Check near joints and seams for breaches. Plumbing leaks can often be repaired without total system replacement.
- Physical damage: Damages or dents on the tank's exterior can happen from weather, lawn maintenance or vehicle collisions.
- Mechanical breakdowns: While oil tanks are relatively simple and require low maintenance, the thermostat, pump and other working parts are susceptible to wear and tear.
Routine inspections should help you avoid surprises and inform you when it's time to replace your oil tank.
Factors to Consider When Installing an Oil Tank
Most U.S. heating oil consumption occurs in the Northeast, with New York, Pennsylvania and Massachusetts being the top three residential consumers in 2019. Of the 5.5 million households that use heating oil, about 81% are located in Northeastern states. Heating oil serves as one of the most affordable options, a valuable factor for regions with long heating seasons.
You can make informed decisions about your new oil tank installation — even if you decide to hire professionals. A better understanding of how your heating system operates will ensure lasting results. The following factors are vital to the installation and continued maintenance of your new oil tank:
1. Indoor vs. Outdoor Oil Tanks
It is essential to know the types of tanks that will be removed and installed during the replacement. These distinctions can help you plan for the risks and upkeep associated with each oil tank heating system, as well as any additional costs or considerations.
Indoor Oil Tanks
Indoor oil tanks are installed above ground, typically in an unused yet accessible part of your home. Controlled indoor environments protect the tank from frost and moisture, preventing rust and reducing the risk of oil leaks. Indoor oil tanks generally last longer than outdoor versions, with an average life expectancy of 25 years. Some indoor residential oil tanks can be considered in good condition at 60 years or older if adequately maintained.
Install your indoor oil tank in a space that's easy to access for inspections. Many homeowners install tanks near a furnace in the basement or garage so they remain safe from fluctuating weather and freezing temperatures. Avoid spaces where the oil tank could be damaged by everyday household activities or vehicles. If your oil tank is inside a garage, keep it shielded with protective bollards.
Outdoor Oil Tanks
While all indoor tanks are above-ground, outdoor variations can be installed above or below the surface. Outdoor oil tank heating systems have a life expectancy of about 15 years due to their higher risk of exposure. They are a feasible solution for homeowners with limited indoor space or those who would rather store large oil quantities outside.
Outdoor oil tanks can withstand brutal conditions, however, they also have more risks and upkeep. Tanks stored outside are vulnerable to rain, snow and extreme temperatures — such conditions can cause hazards like condensation, gelling problems and freezing. If you choose an outdoor unit, you will need to perform frequent inspections since considerable damage may require the replacement of entire tanks.
2. Underground vs. Above-Ground Installation
If you opt for an outdoor oil tank, you'll need to choose between underground and above-ground heating units.
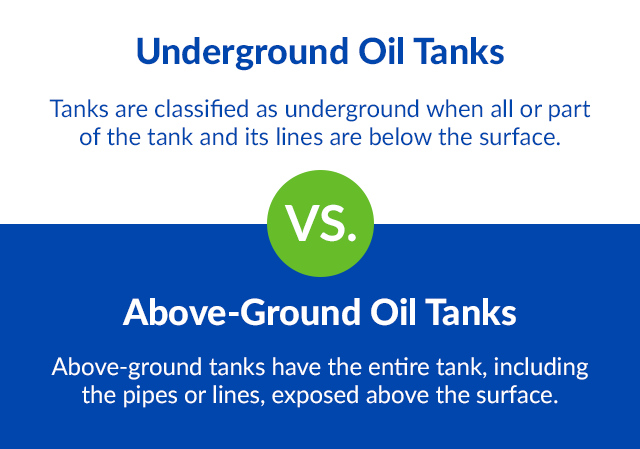
Underground Oil Tanks
Tanks are classified as underground when all or part of the tank and its lines are below the surface. Underground oil tanks can be primarily invisible and provide homeowners more free space on the surface. They can also mediate some of the risks associated with outdoor systems, since the ground keeps your tank insulated. These tanks are more difficult to reach, despite needing regular inspections for corrosion and shifting.
The removal of underground oil tanks requires additional labor for excavation and lifts. While this removal can be more expensive, repair and damage expenses for above-ground tanks exposed to the elements can be just as costly. It's best to hire a professional for underground oil tank replacement. Underground tanks are more difficult to remove, install and inspect, so you want to ensure the job is performed correctly from the start.
Above-Ground Oil Tanks
Above-ground tanks have the entire tank, including the pipes or lines, exposed above the surface. Generally, your above-ground tank should rest on a solid concrete foundation — whether it's the floor of your basement or a slab in your yard. Concrete will prevent your oil tank from the ground's gradual shifting.
Above-ground oil tanks are easier to inspect, repair and remove. Various sizes and shapes mean you can choose the best location for your lifestyle while still having accessibility for inspections and heating oil deliveries.
The following are tips for above-ground oil tank installation:
- Know the dimensions of the new tank and ensure there will be enough space: Remove any clutter from the surrounding area.
- Prepare the house to have no heat: Before the oil tank replacement begins, the oil heating equipment will need to be turned off.
- Empty the old tank of oil and remove it with professional assistance: You may have to pay to dispose of the old oil. If the old oil is abundant, consider transferring it into temporary storage for use in the new tank. There should be a reservoir of sludge left in the bottom that the professional will take along with the tank to an environmental facility for proper disposal.
- Prepare the new oil tank for installation: This step can include removing knockouts in the tank openings, plugging outlets that will not be used in the new tank system, assembling the tank feet and more.
- Make preparations to fill the new oil tank with heating oil: You can either plan to transfer the old tank's oil into the new tank or call for a heating oil delivery service to fill the tank instead.
- Check that the equipment is working correctly after installation: Restore heat to the home. You can clean the site while waiting for the equipment to work.
Carefully consider the above factors before you plan a self-installation. Further oil tank replacement procedures are required, in addition to a complete understanding of oil tank regulations.
3. Protection and Prevention Measures
Waxing and gelling are a top concern for many oil tank heating systems, especially those that store oil outside. Waxing occurs when the heating oil's hydrocarbon chains begin to form paraffin crystals due to dropping temperatures. Gelling occurs when the heating oil develops into sludge after reaching about 16 degrees Fahrenheit. Once this gelling point is reached, the heating oil is more likely to coat your lines and clog the atomizing nozzle.
These temperatures are often experienced during Northeastern winters. The resulting hazards will reduce your heating system efficiency. There are many preventive measures to protect against waxing and gelling, including:
- Wider fuel lines: The fuel lines and atomizing nozzle will be less likely to clog from gelling when they are wider.
- Insulation: Insulating your fuel lines can help prevent temperature drops. Consider burying your lines underground — the soil will act as a natural insulator.
- Housing or a shed: Many installers offer accommodations that cover your oil tank and keep snow or ice from collecting on the tank's surface.
- Heating oil additives: Use additives in the heating oil that can prevent it from gelling or waxing.
You can efficiently complete some of these preventive tasks during installation, so it may be beneficial to plan for them in advance.
4. Oil Tank Installation Code and Regulations
Oil tank installation regulations are vital for the protection of the environment, your property and your personal safety. They apply to the manufacturing, installation, servicing and removal of all oil tanks. The industry standard regulations developed by Underwriters Laboratories (UL) ensure the following details are up to code in any oil tank:
- Materials that go into construction
- Size and shape
- Location of drainage valves
- Type of pressure tests required
- Guidelines for proper labeling
- Various other safety and construction features
During your oil tank installation, you must also uphold the installation code established by the National Fire Protection Association (NFPA) to standardize these types of installments. Local and state code officials may require specific regulations, too. For example, your tank could need protective bollards — concrete-filled steel posts set into concrete — if installed in a garage where vehicle impact is more likely. Before your oil tank installation, it is beneficial to research any local permits or additional codes.
Research on the above regulations and applicable codes can seem daunting for the average homeowner, but it's necessary for proper oil tank installation. A licensed installer will understand these nuances and guide you through the regulations that apply to your new oil tank.
5. Importance of Annual Inspections
An inspection is typically required for all types of heating systems after installation — your new oil tank included. It is best to have yearly inspections to ensure your tank remains safe and functional for a more extended period. Annual inspections can catch hazards before they become costly damage. Inspect your tank for the following hazards at least once a year:
- Water and sludge pooling in the bottom of your tank: You will need to remove any water from the tank as this can lead to rust and microbes. Heating oil deliveries can also stir up the contents from the tank's bottom and send sludge to the oil burner.
- Corrosion on the inside of your tank: A corroded interior can cause oil spills and require underground modeling to fix, which will result in high remediation costs.
- Problems with the oil filter cartridge or filter screen: Many homeowners rely on their annual inspection to change these parts from within the tank. If left unchecked, they can cause unsafe heating or heat loss.
Homeowners can boost their savings throughout an oil tank's long life with proper installation and yearly inspections. When equipment is left unchecked, you increase the potential for damage. Regular upkeep and correct oil tank replacements lower any risks to the environment and your property.
Get Heating Oil for Your New Oil Tank With Smart Touch Energy
Whether you're replacing an old oil tank or transitioning from another heating system, the new tank will require heating oil upon installation. Make preparations to fill your new oil tank with heating oil from Smart Touch Energy. Rely on our heating oil services and schedule your quick, cost-effective delivery today.
